Thursday, September 17, 2015

Configuring WCCC in the P6 EPPM R15.1 Database Settings

Step 1: Login Primavera P6 Administrator with administrator user


Step 2: Configurations -->Custom --> Primavera P6 Configuration -->Database-->Instance[1] -->Content Repository -->Oracle Webcenter Content Core Capabilities

  • Host: 192.168.2.156
  • Port:4444
  • Oracle Home: /P6_Folder
  • Oracle Security Group: P6_Group
  • Oracle Document Type: Document
  • Metadata Prefix: Prm
  • Admin User: sysadmin
  • Authentication Mode: Multiple User


Step 3: Click Save Changes

Step 4: Reboot P6 
 You can see blog


Create metadata text fields in WCCC for P6 EPPM

Overview:

a. Create the following metadata text fields in the "Information fields" tab, exactly as
specified (including case), in WCCC for P6 EPPM:
 PrmUserId
 PrmProjectId
 PrmWorkgroupId
 PrmWorkflowId
 PrmWorkflowStatus
 PrmWorkflowAction
 PrmSecurityPolicy
 PrmTemplate
 PrmCheckedOutUserId
 PrmCheckedOutDate
 PrmLocalFilePath (make Type = Long Text)
 PrmAuthorId
Using "Prm" as a prefix is optional. You can use any prefix. If you don't use a prefix, ensure
that none of the P6 EPPM metadata fields conflict with existing metadata fields.
b. Select the "Update Database Design" button to commit the changes.

Step By Step:


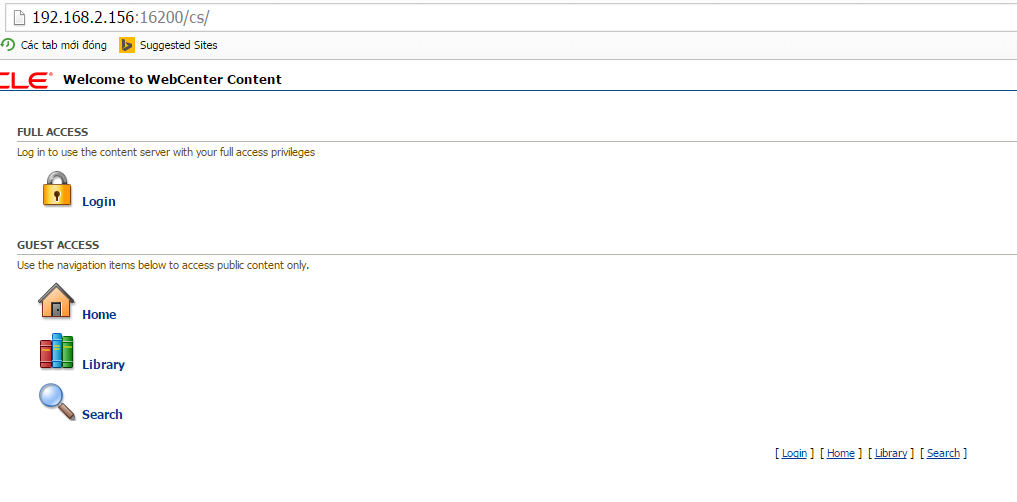
Step 1: Login WCCC


Click Login, enter Username and Password

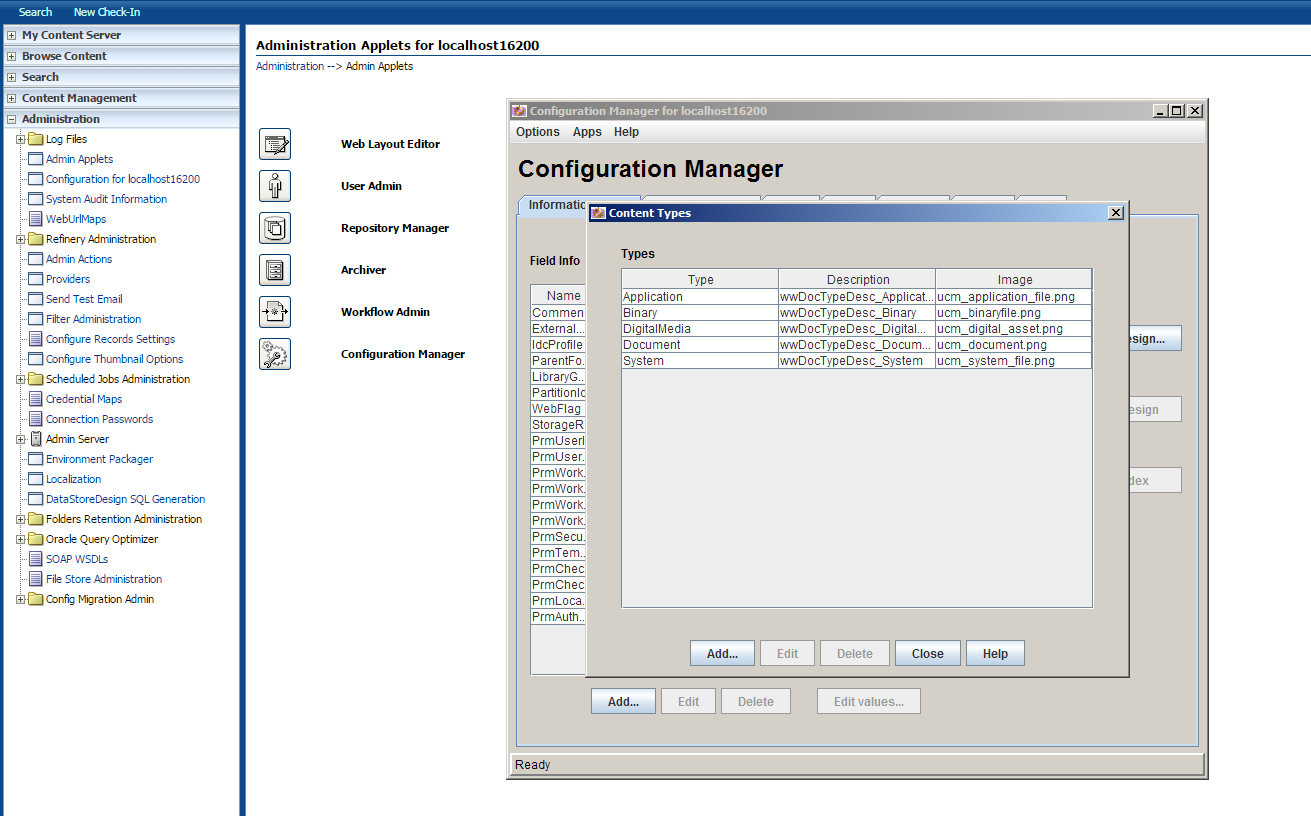
Step 2: Administration --> Admin Applets-->Configuration Manager 
Step 3: Click Add, Content Types dialog appear.
Step 4: click Add, Add Metadata Field Name appear. On Field Name enter PrmUserId
Step 5: On Add Metada Field 'PrmUserId' enter value like it.

Step 6: loop order Step 4 and Step 5 for 
PrmProjectId, 
PrmWorkgroupId, 
PrmWorkflowId, 
PrmWorkflowStatus, 
PrmWorkflowAction, 
PrmSecurityPolicy, 
PrmTemplate,
PrmCheckedOutUserId,
PrmCheckedOutDate
Step 7: Add Metadata Field 'PrmLocalFilePath'

Step 8:Note: On Field Type choose Long Text
Step 9: Loop Step 4 and Step 5 for 'PrmAuthorId'

Step 10: click Update Database Design


Step 11: Click Ok


Wednesday, September 16, 2015

Create an P6 EPPM documents home folder on the WCCC server

Prerequisite:

Ensure do this step firstly
http://vtgdb.blogspot.com/2015/09/enable-framework-folders-for-wccc.html

Step to do:

Step 1: Login WCCC server


Enter username, password to login.

Step 2Browse Content -->Folders   


Step 3: On Top Right, you select Add --> New Folder


Step 4: Click show advanced options
Step 5: On Folder Name: P6_Folder, Owner: weblogic, Security Group: P6_Group. Click Create


Step 6: Finish


Create an P6 EPPM Security Group,Role in WCCC

Step 1: Login to WCCC
 Click Login, enter username and password
Step 2: Click Admin Applets on Administration 


Step 3: Click User Admin


Step 3: Click Permissions by Group


Step 4: Click Add Group, Group Name is P6_Group, Description: P6 EPPM Security Group. Click OK.


Step 5: P6_Group created. Click Close


Step 6: User Admin -> Security -> Permissions by Role


Step 7: click Add New Role, on Role Name enter P6_Role, on Role Display Name: P6 EPPM Security Role. Click OK.


Step 8: P6_Role created,  on Groups/Rights choose P6_Group() click Edit Permissions ...


Step 9: Click OK.


Step 10: Click Close


Forwarding Network


Describe:
End User cannot access Server B via port 8000.
End User can access Server A via port 8000.
How to End User can access application on Server B which running port 8000?

Before Forwarding, end user cannot access via 8000.


Details:

1. Check Port Forwarding:
[root@PTUD-S05 ~]# ifconfig
bond0     Link encap:Ethernet  HWaddr 44:A8:42:18:29:55  
          inet addr:IP_SERVER_A  Bcast:10.30.164.191  Mask:255.255.255.192
          inet6 addr: fe80::46a8:42ff:fe18:2955/64 Scope:Link
          UP BROADCAST RUNNING MASTER MULTICAST  MTU:1500  Metric:1
          RX packets:5433 errors:0 dropped:0 overruns:0 frame:0
          TX packets:2084 errors:0 dropped:0 overruns:0 carrier:0
          collisions:0 txqueuelen:0 
          RX bytes:540826 (528.1 KiB)  TX bytes:299158 (292.1 KiB)

[root@PTUD-S05 ~]# cat /proc/sys/net/ipv4/conf/bond0/forwarding 
0
[root@PTUD-S05 ~]# echo '1' > /proc/sys/net/ipv4/conf/bond0/forwarding 
[root@PTUD-S05 ~]# cat /proc/sys/net/ipv4/conf/bond0/forwarding 
1

2. Edit iptables for forwarding/
[root@PTUD-S05 ~]# vi /etc/sysconfig/iptables
# Generated by iptables-save v1.4.7 on Sat Sep 12 02:31:44 2015
*nat
:PREROUTING ACCEPT [0:0]
:POSTROUTING ACCEPT [0:0]
:OUTPUT ACCEPT [0:0]

-A PREROUTING -i bond0 -p tcp -m tcp --dport 8000 -j DNAT --to-destination IP_Server_B:8000
-A POSTROUTING -o bond0 -p tcp -m tcp -d IP_Server_B --dport 8000 -j SNAT --to-source IP_Server_A

COMMIT
# Completed on Sat Sep 12 02:31:44 2015
# Generated by iptables-save v1.4.7 on Sat Sep 12 02:31:44 2015
*filter
:INPUT ACCEPT [0:0]
:FORWARD ACCEPT [0:0]
:OUTPUT ACCEPT [779:107936]
-A INPUT -m state --state RELATED,ESTABLISHED -j ACCEPT
-A INPUT -p icmp -j ACCEPT
-A INPUT -i lo -j ACCEPT
-A INPUT -p tcp -m tcp --dport 21 -j ACCEPT
#-A INPUT -j REJECT --reject-with icmp-host-prohibited
#-A FORWARD -j REJECT --reject-with icmp-host-prohibited

COMMIT
# Completed on Sat Sep 12 02:31:44 2015

3. Restart Iptables to apply it.
[root@PTUD-S05 ~]# service iptables restart
iptables: Setting chains to policy ACCEPT: filter nat      [  OK  ]
iptables: Flushing firewall rules:                         [  OK  ]
iptables: Unloading modules:                               [  OK  ]
iptables: Applying firewall rules:                         [  OK  ]
[root@PTUD-S05 ~]#
After Forwarding:


Enable Framework folders for WCCC (Oracle Content Repository)

Step 1: Access Oracle Content Repository via Web Browser
Step 2: Click Login, enter username and password

Step 3: On Administration, click + plus button on Admin Server, select Component Manager

Step 4: On Component Manager click advanded component manager.
Step 5: On Disabled Components find Framework folders and click Enable


Step 6: Alert appear


Step 7: Shutdown ManagedServer using Ctrl + C


Step 8: Start ManagedServer UCM_server1


Step 9: Waiting for running


Step 10: It's ok